FLIGHT PLANNING
For photogrammetric surveying and 3D modelling
of the study area, the android applications Pix4d capture and drone deploy were
capable of executing the flight plan. The flight planning was carried out based
on different factors such as the overall area of the site to be covered, the
precision level (spatial resolution), the overall flight time, and the speed
limit, and the height of the buildings. The flying height and the flying view
of a UAV totally depends upon 3 factors, the spatial resolution of the eventual
images, the focal length of the camera and type of mission we are planning.

Flight plan requirements to carry out UAV based coverage over BIT Campus for 3-D modelling
Pick a Time
to Fly: one of the most important steps in using your drone to make a 3D
model is to pick a good time to fly. Besides avoiding high winds or rain, it’s
also important to pick a time with good lighting. The worst time of day? Too early or too late in the day because
that’s when the shadows are longest and will have the greatest effect on the
outcome of the model.
Capture
Nadir Imagery: Start by capturing nadir imagery, photos captured from directly
above looking down, using the free Drone Deploy flight app (iOS or Android). He simply outlines the area he wants to fly on a base layer
map, and the app generates a flight plan. Following a safety check, the drone automatically takes off, flies along the automated flight path
capturing images and then lands.
Circle the Structure to Capture Oblique Imagery: if you’re
making a 3D model of relatively flat terrain, an overhead flight might be
sufficient to make a good model. However, if you’re modeling a structure or
rock formation with steep, vertical or concave sides, overhead images don’t
capture a good view of the sides of the structure. For this reason, Jeff
recommends flying two additional orbital flights around the structure capturing
oblique imagery to improve the quality of your model. When
capturing oblique images it’s important to avoid capturing the horizon within
your images. When Jeff makes these two orbital flights, he manually triggers
the camera shutter to take each picture. However if you’re just starting out,
you might experiment with flying very slowly and setting the camera through
your drone’s flight app to automatically capture images every 3–5 seconds.

Process the Imagery to generate 3D Model: Upload all photos
from all flights to Drone Deploy or any other software such as PhotoScan
Agisoft or Pix4D capture and choose to process the imagery as a “structure.”
After a few hours, Drone Deploys cloud-based processing stitched all the images
together and the 3D model was complete.

Fig: Camera position over study area
Technical issues and problem occurred during fly
Initially, while connecting
the drone with the mobile app, connectivity problems were faced owing to
version issues. This was due to not using the updated version of the mobile app
interfacing the drone device. While using DJI Mavic Pro with Pix4D Capture
version 2.9.0 running on iOS 11.1.2 on an iPhone 6, taken several attempts on
double grid pattern for 3D modelling. The controller has twice indicated for
"check app" and the app alerted that there is an error and it goes
back into the landing mode. In such case, one need to manually fly back
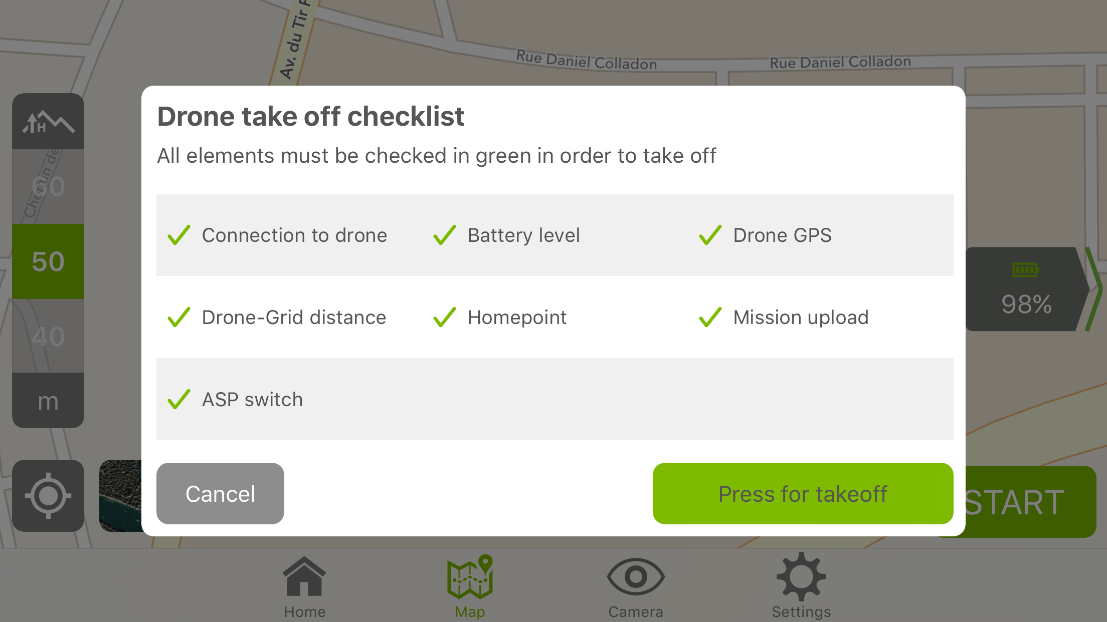
to a safe landing point. Even after the successful pre-flight check sometimes
the application encounter some technical problem during fly, this might be the
internal issues of the application and need to be updated.


No comments:
Post a Comment